Making a Clock
Laser Engraver
For my final project, I wanted to create a clock using the vinyl cutter, laser engraver, and 3-D printer. I designed my clock body in my notebook. I wanted to aim for a sleek looking clock that stood out with it's colors and it's design.
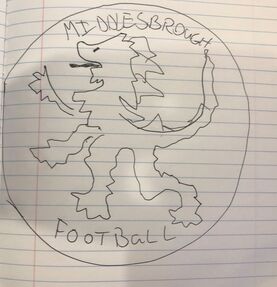
After I sketched out what I wanted the clock body to look like, I opened up illustrator and began working. I decided on a clock that was 12 inches in diameter and I also made the lion part smaller so I could fit the text and the numbers, which I would later draw on, easier.
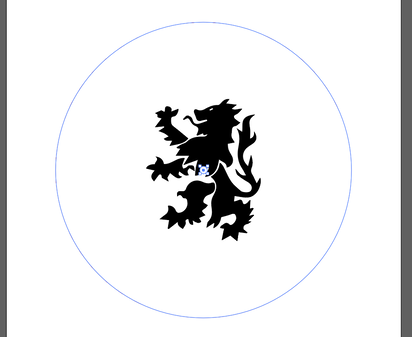
After I got everything sorted in illustrator, I saved my progress on a flash drive and moved down to the laser engraver. I then went through the normal process of selecting the material, the thickness, and where I wanted the print to be on my material. I then loaded my material into the big laser.
|

|
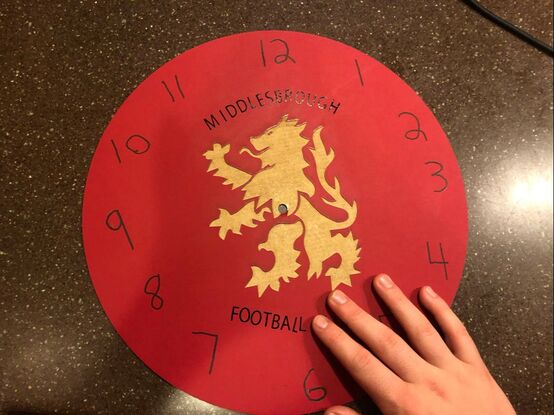
After I loaded all of my material into the laser, I hit print and left it to engrave. When I came back, I was greeted with this.
3-D Print
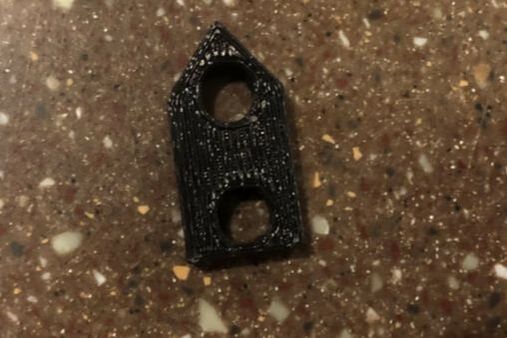
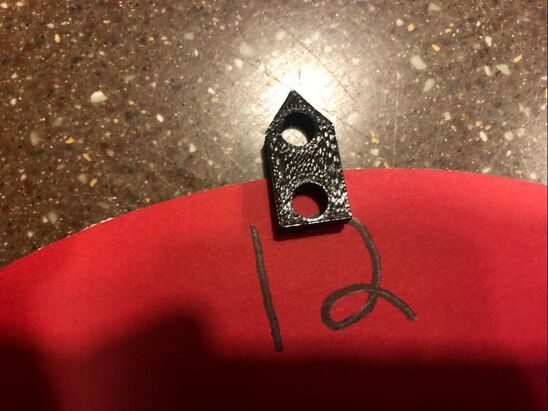
I wanted to 3-D print something that was small and wouldn't take much time to do, so I thought that a small hanger would be a perfect thing to 3-D print. I started out with sketching my idea in my notebook.
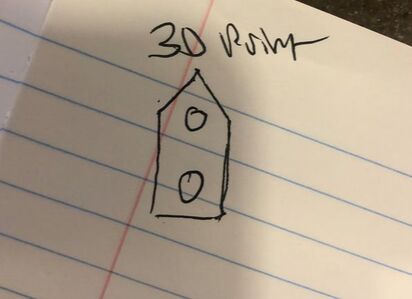
This didn't take too long to design.
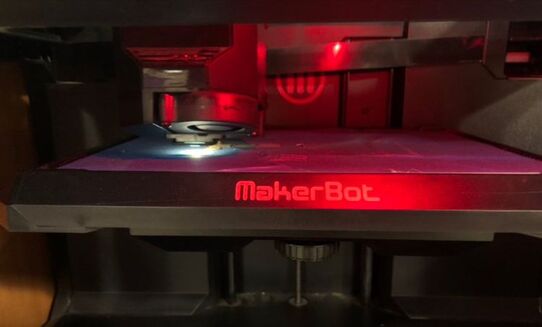
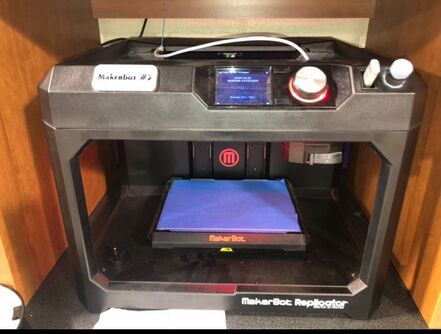
After I designed what I thought would be a good place to hang my clock, I saved the design onto my flash drive and went down to the 3-D printer to print it out.
|
|
Vinyl Cutout
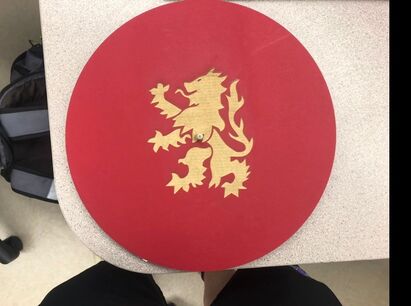
For my vinyl cutout, I designed the words "Middlesbrough Football Club" in Illustrator. I made these words into an arc so they could fit over the lion design. I wanted the words to be on the smaller side so they didn't take up too much space and cover up the areas where I wanted the numbers to go.

After getting all the letters to the appropriate sizes and placing them where I wanted them, I saved my design onto my flash drive and went down to the vinyl cutter, where I began the process of cutting out the words.
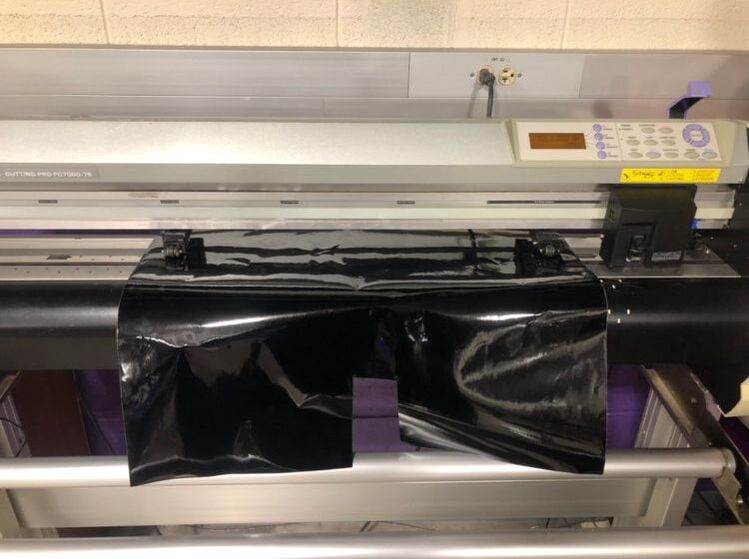
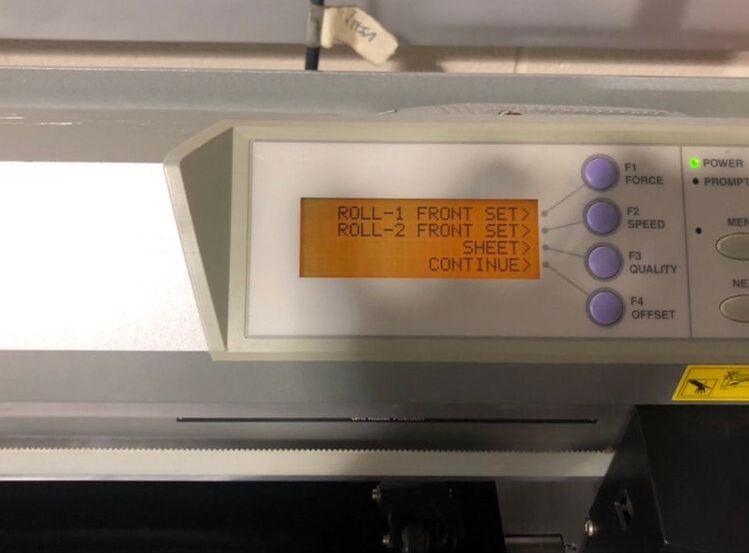
After loading all my material and selecting the appropriate options for setting it up, I printed my design.
|
|
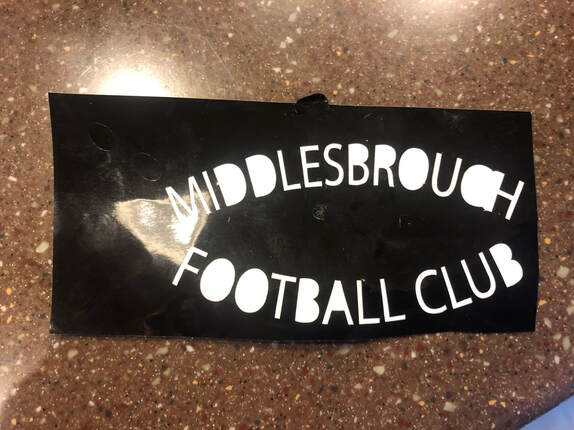
(Picture taken after cutout was removed so it would be easier to see)
Assembly
Putting it all together was the hardest part of the project, especially laying the vinyl down. I had to pick each letter off of the vinyl piece with a syringe and line them up so it would create an arc.
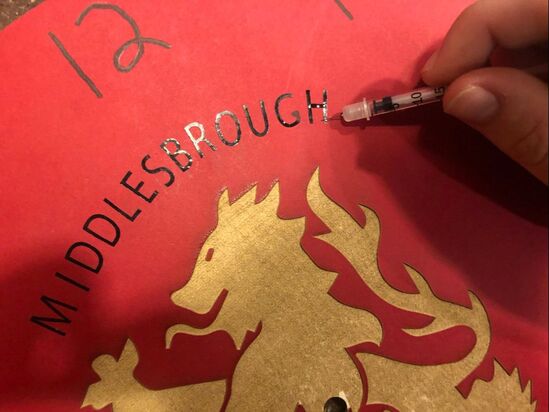
For creating the arc, I used my hand as a sort of guidance for the letters so they would form an arc.
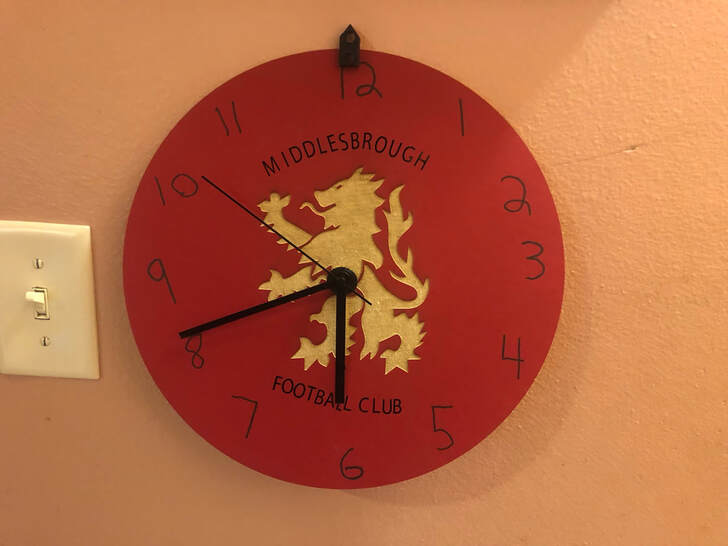
After laying the vinyl down, I put the 3-D printed hanger at the top of the clock where the 12 is. Now I could hang the clock and it would be upright so I could look on the wall and tell the time.
After assembling the hands and the clock part on the back, I was finished.
What I Learned
I learned a lot in IDEA. I came in possession of multiple skills that I never thought I would have used in my life. Seeing all and being able to use all of this new technology made me develop a new hobby for creating a designing things. In this final project alone, I learned how to create a fully functional clock with just mat board and just one other part. I also learned how to arc text in illustrator and how to create an efficient way to hang an object using inventor and a 3-D printer.
