Individual Laser Engraving
There were a total of three projects that we needed to create using the laser; a notebook cover, a water bottle, and a thingiverse item. I wanted to make each one of my designs something meaningful to me, so with that in mind, I started with my notebook cover.
Notebook Cover
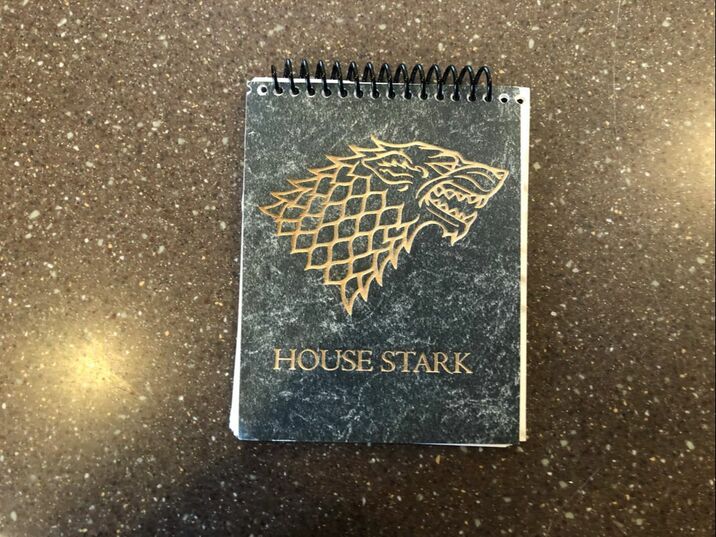
For my notebook cover, I originally wanted to do something music related, but being that the last project I had completed was music related, I felt like I had to think of something else. I ended up engraving an item from my favorite T.V show instead, with my name also on the back.
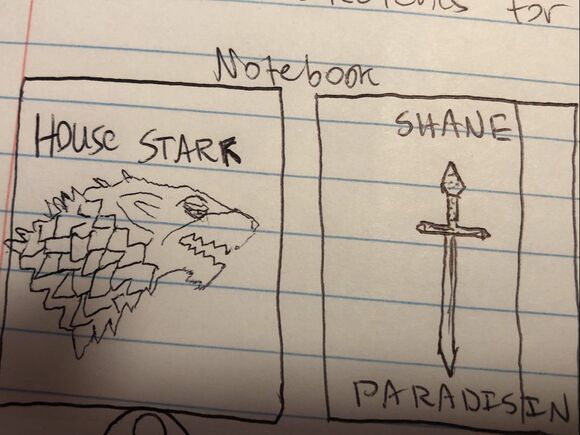
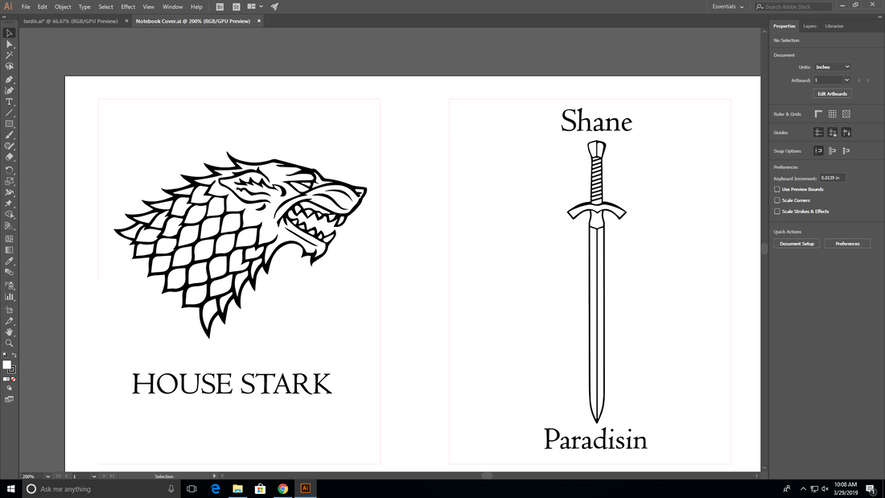
I started by creating a sketch of what I wanted my notebook to be, and when I finished I modeled my product after it the best I could. Right after I finished my sketches, I moved onto illustrator and created a new document that was 4.25 by 5.5 inches.
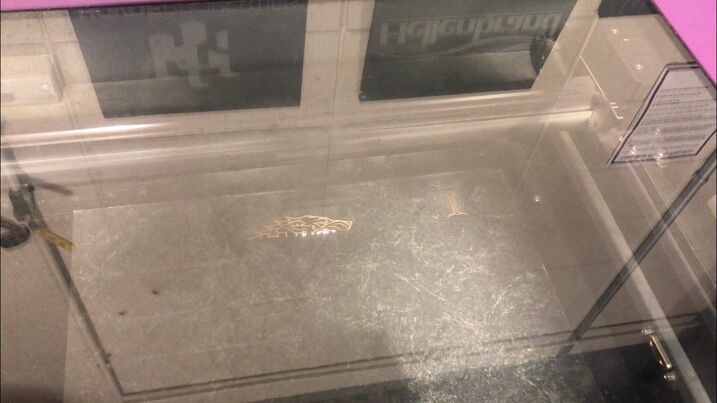
After I completed that and all of the necessary steps to get ready to engrave, I moved on to the laser (step by step instructions on the individual laser handout). On the laser, I loaded my desired material into the laser, changed the material to mat board, and hit print.
After I cut out and engraved my notebook covers, I went to create an actual notebook from the two covers. I acquired 20 sheets of paper the size of my covers and one notebook spiral. After that I created the holes to spiral the notebook.
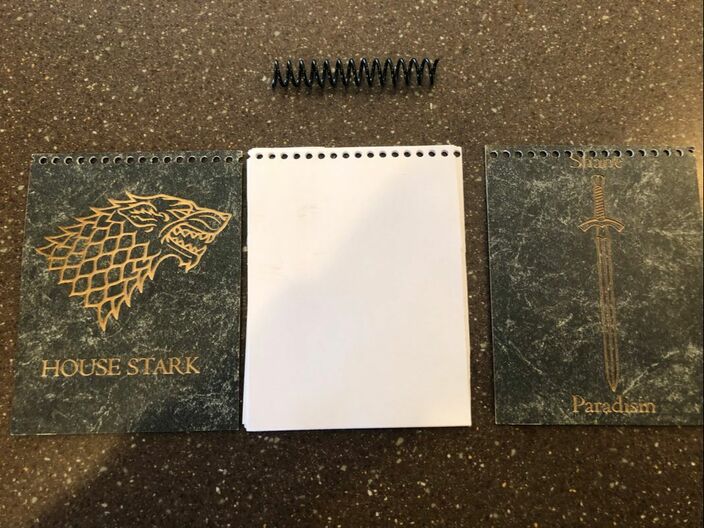
After that, I assembled my notebook by putting the spirals through the holes
Water Bottle
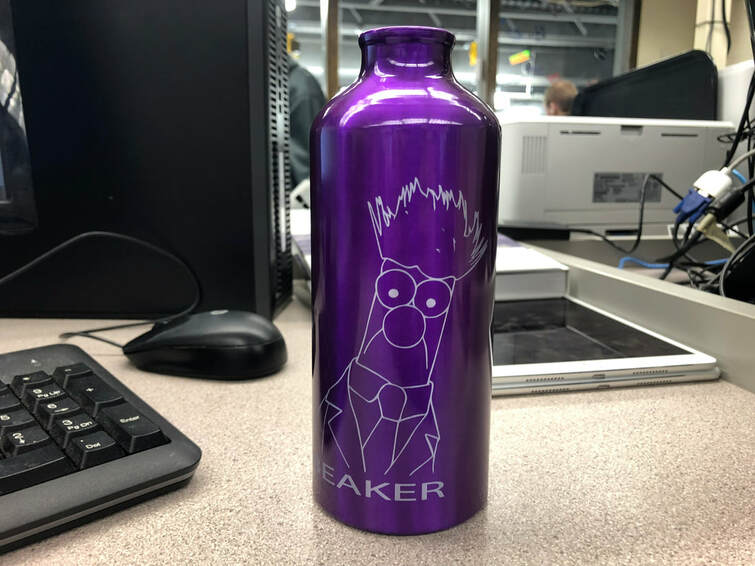
For the water bottle, I decided I wanted to engrave Beaker from the Muppets quite early on. I ended up sticking to that plant, and my first step was to draw out what I wanted the water bottle to look like. I wanted an image that wasn't too big and text right underneath it.
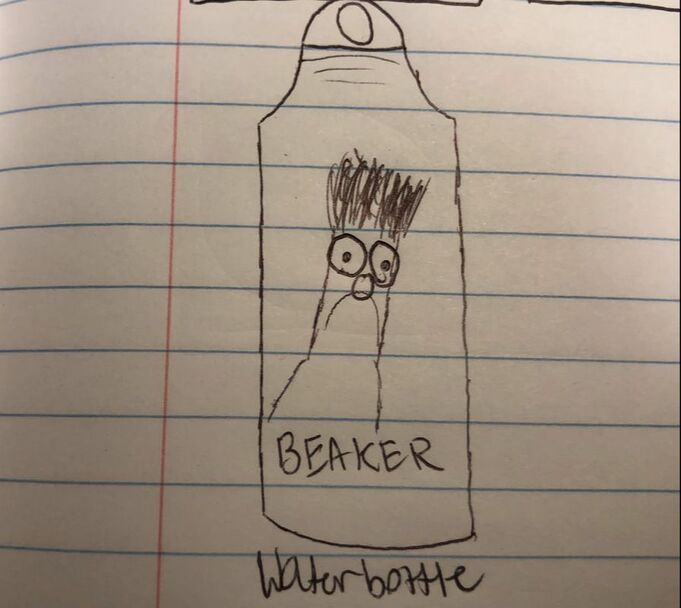
I then went on to create my design on illustrator. I made sure to make my work space 9 by 5.5 inches.
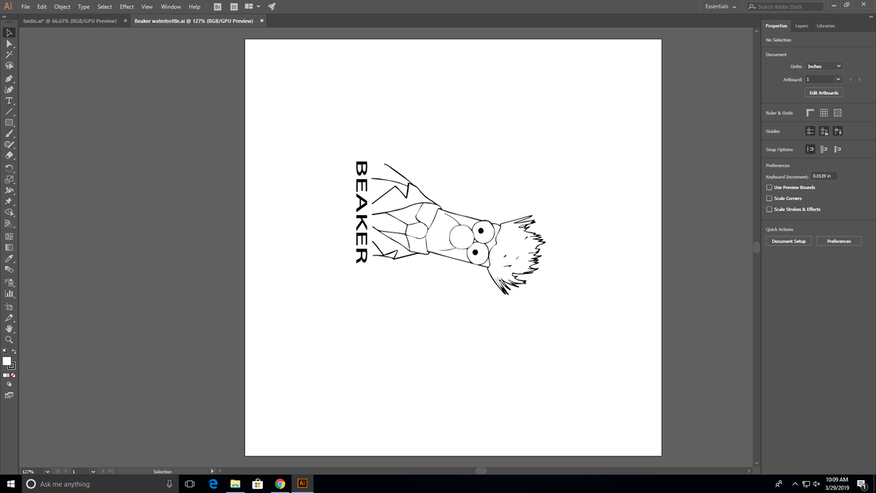
I then saved my illustrator file on to my H drive and went down to the laser and secured the rotational jig into the laser. After that, I loaded my bottle in the jig and selected the material as anodized aluminum and the fixture type to rotary. After that, I pressed play.
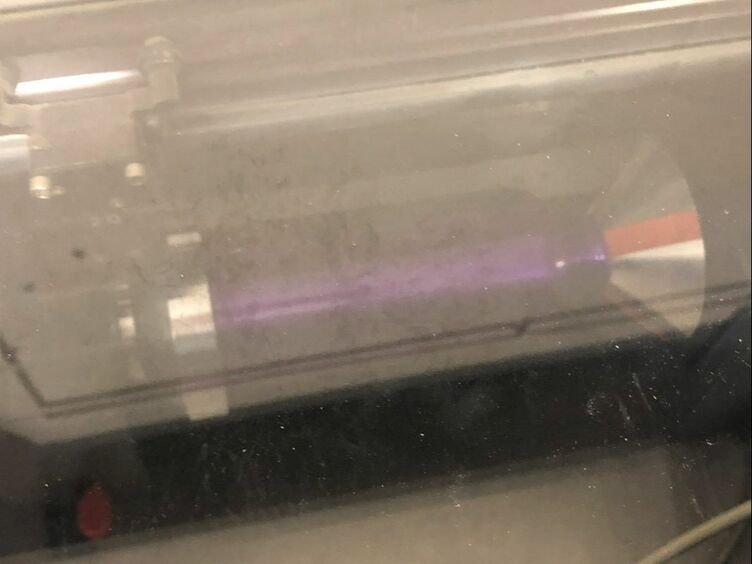
After hitting play, I made sure to stay with the laser until it was done engraving. My end product looked like this
Thingiverse
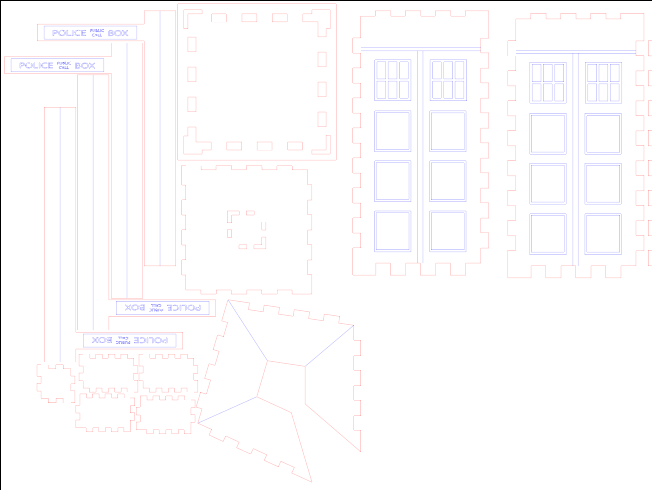
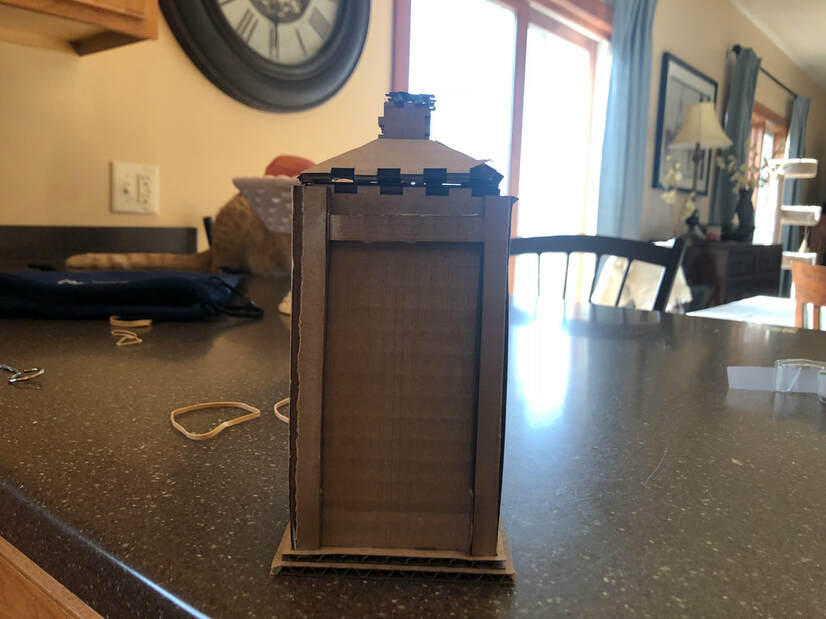
For my thingiverse item, I wasn't really sure what I wanted to do, so I just searched "cardboard" in the search bar of thingiverse and hoped tpo find something good. I ended up coming across a cardboard 3D print of the Tardis from the show Doctor Who, and I remembered that I used to watch that show religiously when I was younger, so I thought that would be a good item to choose.
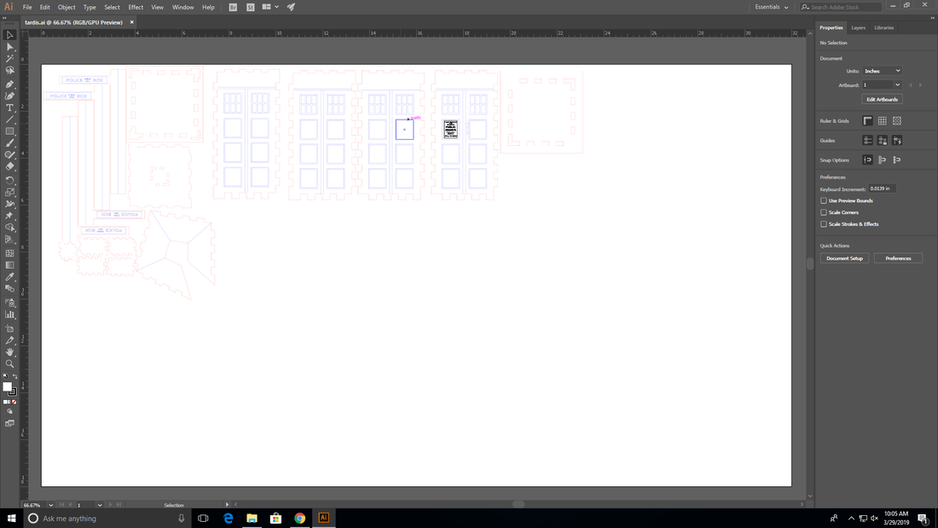
After I opened up the illustrator file given to me from the site, I went down to the lab and measured out the material I wanted to use, which ended up being 14 by 10.5 inches. I then went back up to the computer room and created a work space on illustrator of the same size and moved all the pieces of the design I could in the work space. The leftover pieces went in their own work space.
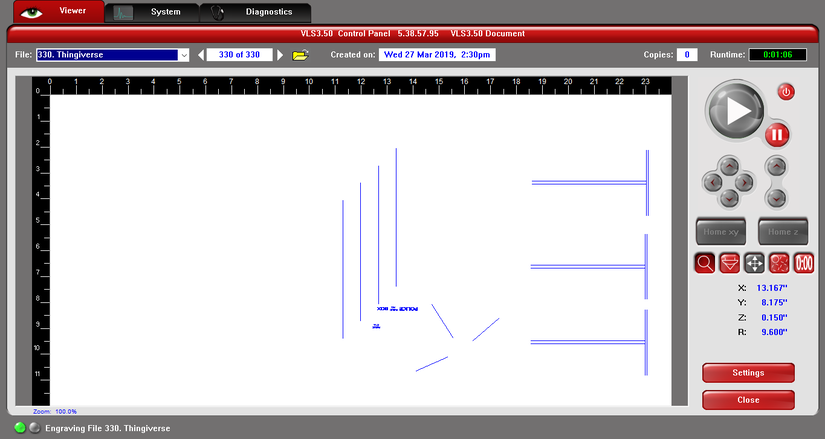
I then saved my file onto my H drive and went down to the laser. For material, I selected cardboard and for thickness I entered 0.435 inches. I then made sure everything lined up and pressed play.
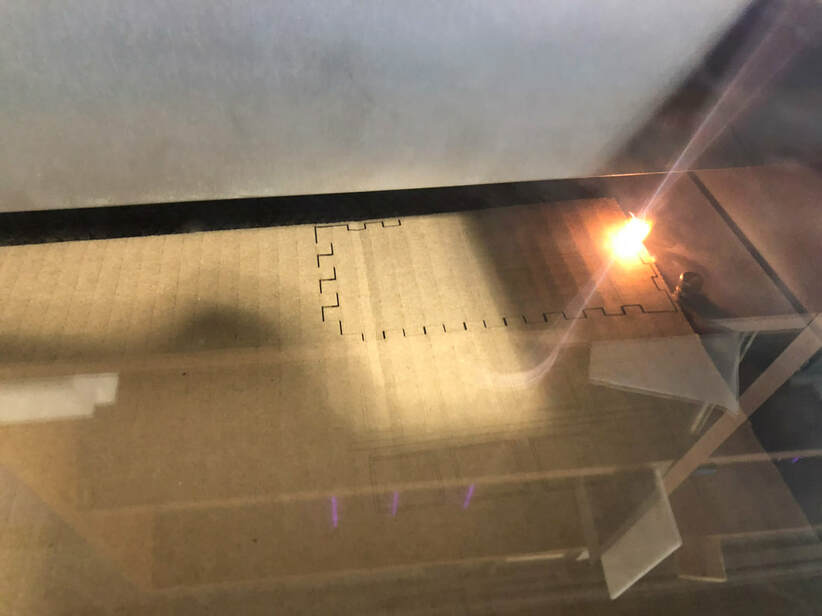
What I Learned
I improved my skills on the laser quite a lot with this rotation. I realized that the laser is good for multiple things like engraving metal and even making 3D puzzles. I learned that it is crucial to watch the machine while it is in operation due to the risk of starting a fire. I saw a couple of flames spout up while doing my thingiverse project, so I made sure to watch the laser closely. I also learned how to use the rotary jig and how to set up the file for use of the rotary jig as well.
