What is Illustrator?
Adobe illustrator is a software that allows you to design and edit vector graphics. Vector graphics are pictures that don't use pixels, but use 2D points that are connected by lines. Since Illustrator is not dependent on pixels and resolution, it makes for a better print when using the laser.
Laser
The first thing I did when using illustrator was go to File-> New-> Print tab. I then changed the dimensions to 2.75 by 1.75 and went to advanced settings to change the color to RGB.

After I created my file to the right size, I then used the rounded rectangle tool and created the outline of my key chain, after which I created a small circle at the top left corner with the size of 3/16 of an inch.
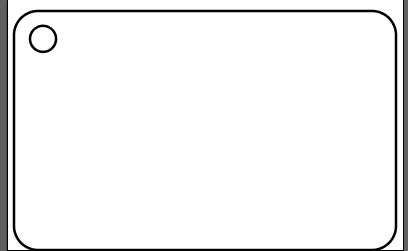
After I created my rounded rectangle and the circle in the top left corner. I clicked on the selection tool and selected the rectangle I made. After I selected the rectangle, I went over to the "stroke" button and typed in .0001. This makes the line that the laser will cut much finer. I also selected the rectangle and clicked on the "fill" button and selected the red square. The red lines determine where the laser is going to cut
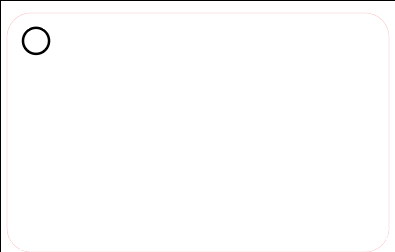
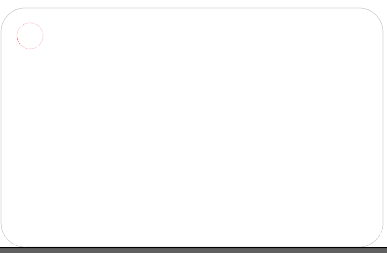
I then did the exact same thing with the circle
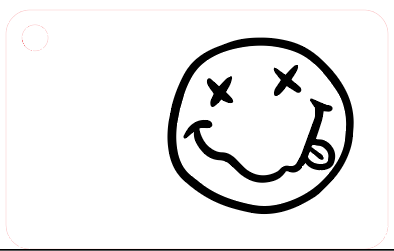
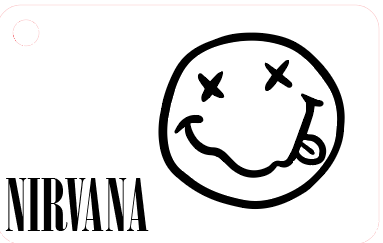
After that, I began my design. I went into google and google searched the picture I wanted and copied it. I then pasted it into illustrator and made it into a vector image by selecting "image trace" in the top left corner. After that, I selected "expand" on my picture. This made sure my picture was all set for engraving
I then added my text in the bottom left corner. After I created my text, I selected "create outlines". This makes sure that my font won't change when I move on to the laser.
Cutting
Firstly, after I saved my illustrator file on to by flash drive, I moved over to the laser and plugged it in. I then selected
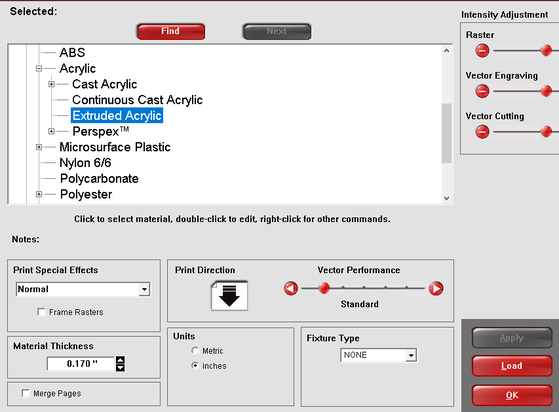
File->Print->VLS6.60->Setup->Preferences. I then found the material I would be using (plastic) and set that aside for when it was ready to use.
File->Print->VLS6.60->Setup->Preferences. I then found the material I would be using (plastic) and set that aside for when it was ready to use.
I then turned the laser on along with the exhaust pipe and then put my plastic piece up to line up with the edge. I then used the "focus" tool and selected all four corners to line the laser up with my work space. I then selected the "extrude acrylic" tool.
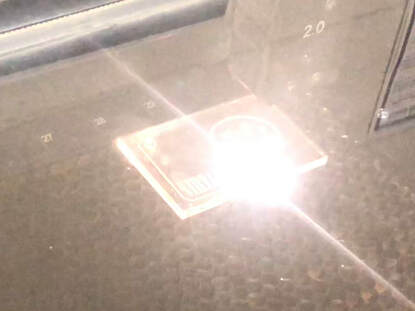
I then used the relocation tool and selected the matching corner of my design to where I placed my material on the laser. I then began to laser.
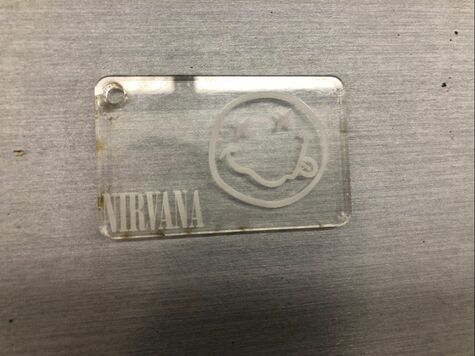
Final Product
Vinyl
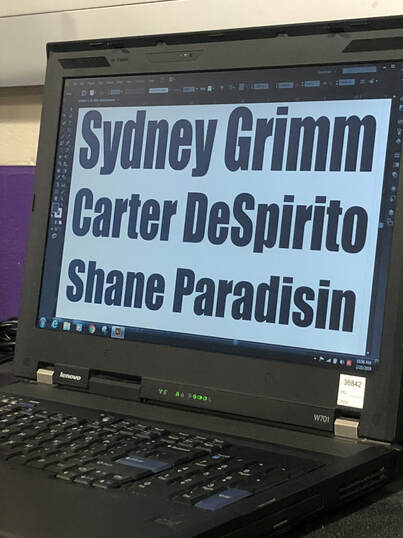
For the Vinyl, I started out typing my name into an illustrator file that I would later use to cut it out in the vinyl machine
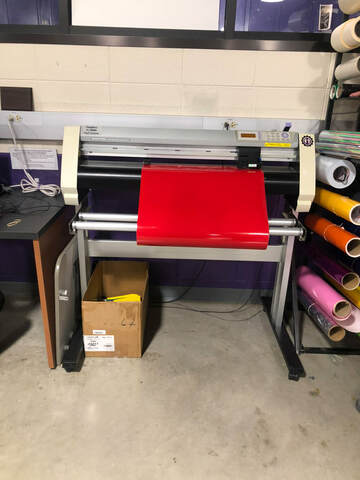
After that, I turned on the vinyl cutter and made sure that the vinyl was loaded up into the machine. I then flipped up the purple lever and made sure that the roller wheels are in the correct spot. I then selected "Roll-1 Front Set" on the machine.
After that, I went back into illustrator and selected the file that I wanted cut. I then checked the media size and location to make sure that everything matched up. I then hit send and my vinyl began cutting. Once I had my vinyl cut out, I was getting ready to apply it to my notebook.
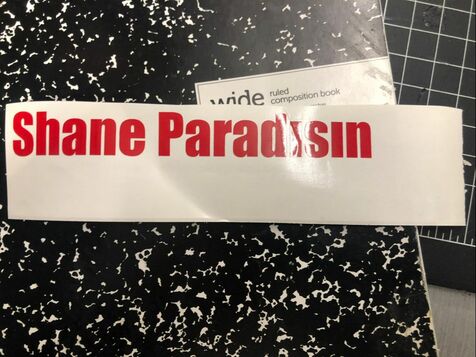
I pulled the vinyl off of the sticky part on the back and applied it to my notebook using a press to make sure it stayed on well.
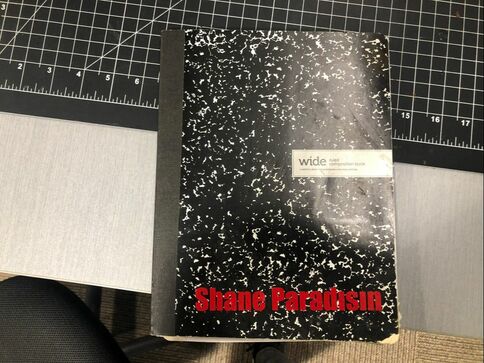
Finished Product
What I Learned
During the illustrator/vinyl project, I learned hoe to do a number of things. I learned how to operate a laser using a file from, illustrator, which I never thought could be possible. I also learned how to cut out vinyl and apply it to a notebook to make a cover. I really enjoyed working with illustrator because I think it could be very useful if I ever go into graphic design. this has been my favorite unit so far.
